I think there must be tricky areas in every garden. Places where the soil is too moist or too dry, where soil is too shallow or barren, where there's too much sun or too much shade, where the land slopes considerably so the rain just runs off and areas under the cover of decks or verandahs that no rainfall can reach. So it is in my garden!
Here, within the boundary of our suburban home, there have been many challenges to overcome in the garden. First and foremost was the soil. Shale atop clay and rock was all we had to work with on our denuded, empty block when we bought it. The topsoil had been scraped away by the developer so there was no soil of any depth to sink a spade into. (In fact, we were lucky if we could sink half a spade in!)

The beginnings of our home on our suburban block.
The solution to this lack of deep, fertile soil continues as a work in progress. All the garden beds were constructed with "soil" carted in from the local landscaping supplier. Had I known then what I know now, I would've done a lot more to that "dirt" before I planted a single thing in it. (Hindsight is indeed a wonderful thing!)

Compost = better soil!

Mandarins, rocket, calendula, lavender and leek!
Another challenge here has been the south-westerly facing front yard. Many of the original plants I put in out the front, before I really knew much about gardening at all beyond the flowers I liked, shrivelled up in Summer heat. Gradually, native shrubs have replaced those plants that were unsuited to those hot, dry conditions. Now, whenever I see our gorgeous grevilleas in bloom, in reds and pinks and golds, I am reminded of all that I've learned about choosing the right plant for the position you are going to plant it in. The native birds are happy too!

Native Grevilleas replaced the standardised Gardenias in this garden bed.
(Can you see the struggling Magnolia Little Gem between them?)

The pretty pink flowers on these Grevilleas.
The slope of our land has also presented challenges. Garden beds in the higher areas dry out much more quickly. I've tried to choose plants, like salvias, that don't mind these drier conditions once they are established in the garden beds at the 'top' of my garden. They are colourful, hardy and bring in the bees. Another slope was created when our block was "cut" to create the level pad for where the house was built. The solution for this long, narrow and rocky slope, that runs down to our Eastern boundary, was to plant a creeper that would cover it. Bauhinia corymbosa or the butterfly vine is fast-growing, hardy and has the most pretty pink flowers.

The creeper that covers little rocky slope.
(The leaves from neighbouring trees fall, decompose & nourish the plants.)
(The leaves from neighbouring trees fall, decompose & nourish the plants.)

It's beautiful pink flowers.
Along part of the back boundary, our neighbour planted a lillipilly hedge very close to the fence. The roots of this hedge have spread over into the garden bed we made on our side of the fence. They take up a lot of the moisture and nutrients from that soil making it very difficult to grow much in this area.

My wonderful wicking barrels.
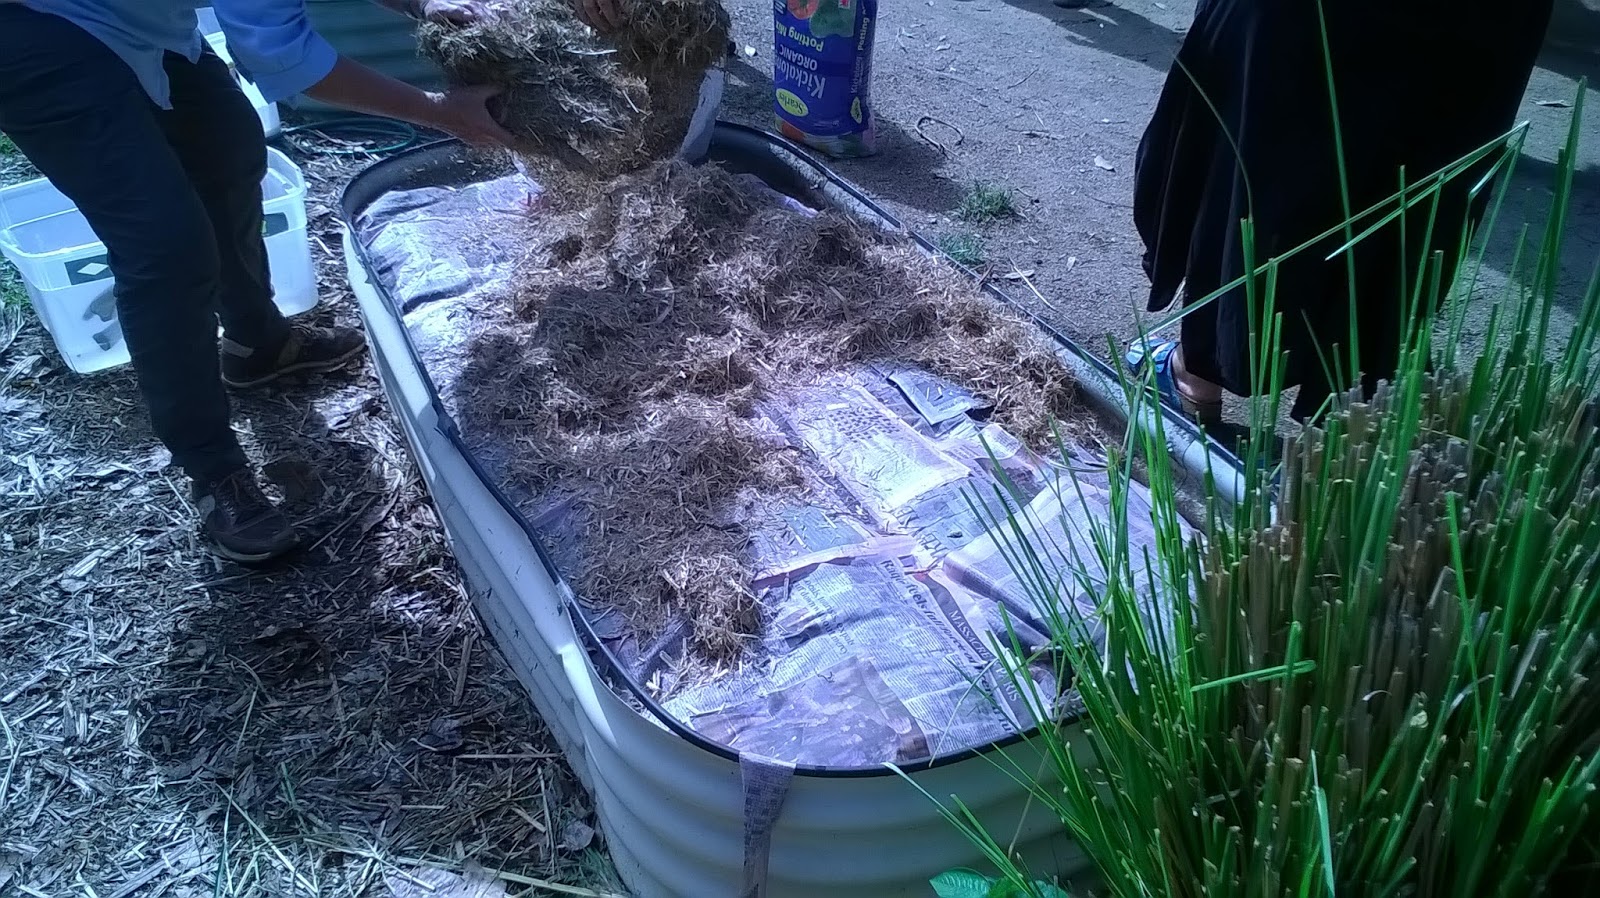
My solution was to plant above the existing soil in wicking barrels. It only took me the better part of a decade to figure this out!! The lillipilly hedge provides some shade for these barrels in the hottest months of the year. When the neighbours cut the hedge back in Autumn, more light reaches the barrels in the cooler months.
Each time I replenish the topmost layer of soil in these barrels, I spread out the "leftovers" on the garden bed around them. I've worked compost into this each time and over the past year a few things have started to spring up in between the barrels, namely self-seeded pumpkins and lettuce. (Can you see the little pumpkin plants in the photo above?) This year, I've sprinkled some Zinnia seeds in between the barrels too and am watching to see if they'll germinate. If they do, they will add lots of colour to this area but also provide more Summer food for my little native bees who love to forage in Zinnia flowers.

I can now grow food & flowers in this area.
Under the rotunda, and after much frustrating trial and error, I planted spider plants. They are gradually multiplying in this area and slowly filling it in. They have strappy variegated foliage, like to dry out between waterings and are easily propagated by division. Although a common houseplant, they can also be grown outside. I am also testing out other "free" plants, like Agapanthus, as I divide them from existing garden plantings. It's cheaper that way!

So, these have been the major challenges in our garden and the solutions we've arrived at ... some after much trial and error. What challenges has your garden presented and how have you overcome them?
Meg
We are very lucky to have a long verandah that wraps around most of our home plus a wider rotunda that extends our living area outside. The garden beds underneath presented a real challenge though because they receive no rainfall. The soil can dry out very quickly in these sheltered garden beds.


Tough native gingers growing under our front verandah.
Both of these areas needed really tough plants. Under the front verandah, native gingers are growing. They tolerate the drier soil and hot Summer sun. They have lovely green strappy leaves and a flower spike covered in little white flowers. After the flowers, blue berries form that are very popular with native birds. They are also a bush tucker plant.
Under the rotunda, and after much frustrating trial and error, I planted spider plants. They are gradually multiplying in this area and slowly filling it in. They have strappy variegated foliage, like to dry out between waterings and are easily propagated by division. Although a common houseplant, they can also be grown outside. I am also testing out other "free" plants, like Agapanthus, as I divide them from existing garden plantings. It's cheaper that way!

Spider plants growing in the garden under our rotunda.
So, these have been the major challenges in our garden and the solutions we've arrived at ... some after much trial and error. What challenges has your garden presented and how have you overcome them?
Meg